Old TV: Practical Guide to Buying, Restoring, and Using Vintage Sets
Got an old TV and not sure what to do with it? Whether you found a mid-century cabinet at a flea market or inherited a bulky CRT, this guide tells you what matters. You’ll learn how to check a set before you buy, how to hook it up to modern gear, and what to avoid to stay safe.
Before you buy: quick checks that save money
First, look for obvious damage. Big dents, cracked glass, or a smoky smell are red flags. Turn the set on if possible—watch for bright flicker, heavy buzzing, or burning smells. Those point to power-supply or tube problems, which can be costly to fix. Note the brand and model number (usually on a back plate). A rare model in good cosmetic and working condition can be worth more to collectors.
Open backs and loose parts? Ask the seller about service history. No service info doesn’t automatically mean you should walk away, but it does mean you should bargain. If the TV is untested and the seller won’t let you try it, discount accordingly or skip it.
How to use an old TV today
Want to watch modern content on a classic set? Most vintage TVs lack HDMI or digital tuners. You can use a small converter: HDMI to composite or HDMI to RF boxes are common. Expect some quality loss—old tubes were never built for HD. For a warmer, authentic look, that’s part of the charm.
For displays and props, an old TV can run loops from a media player or Raspberry Pi. Use low-resolution videos or scanned footage to match the screen’s native output. If you keep the set plugged in, ensure it has good airflow—wood cabinets trap heat.
If you plan to keep watching broadcast channels, get a digital-to-analog converter box or use an antenna with a digital tuner inside a modern set and feed the signal into the old TV via a converter.
Audio: many vintage speakers sound thin or distorted. You can run audio separately to a small Bluetooth speaker for a better listening experience while keeping the original picture.
Cleaning, repairs, and safety
Always unplug before cleaning or opening. CRTs hold charge even when off—don’t touch the tube or power board unless you know what you’re doing. Clean wood cases with mild soap and oil-based polish; use compressed air for dust inside. Replace frayed cords and rotten capacitors—these are common failure points.
If you’re not comfortable with electronics, find a technician who works on vintage gear. For disposal, take non-working sets to an e-waste recycler; CRTs need special handling. Parts can be found on vintage audio forums, auction sites, or salvage yards—older components like tubes, knobs, and speakers are often reusable.
Want to keep the nostalgia without the risk? Convert the cabinet into a media console or art piece while preserving the original dial and face. That way you keep the look and avoid electrical issues.
Old TVs are part nostalgia, part craft project. A careful buy, a few safety fixes, and the right converter can keep a classic set useful and charming for years.
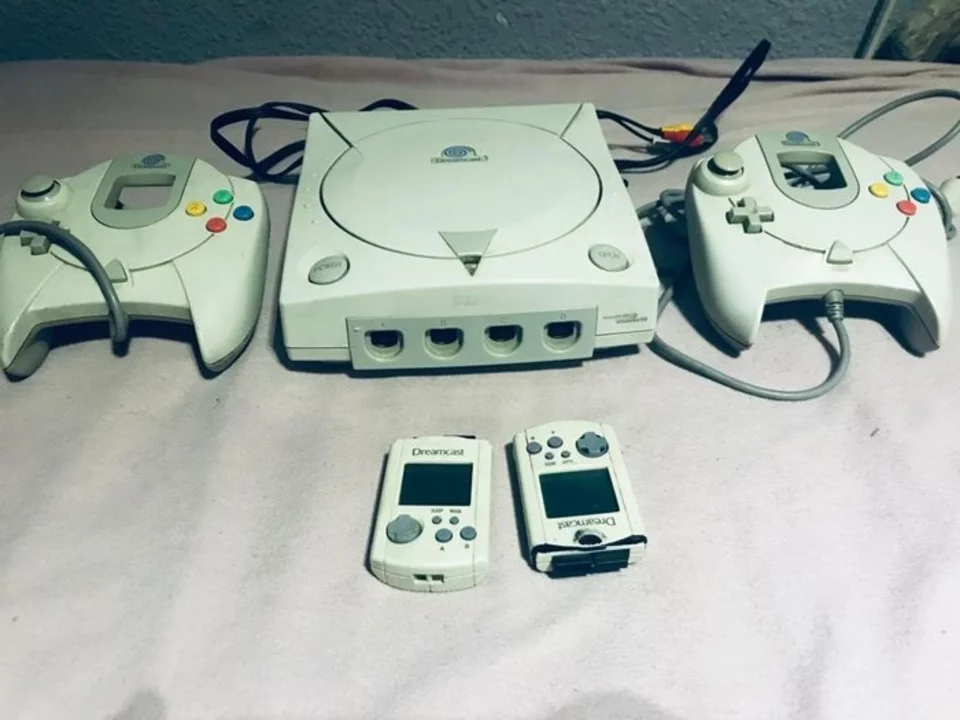
How to set up my Dreamcast console with an equally old TV?
Setting up my Dreamcast console with an equally old TV may seem like a daunting task, but it's actually quite easy. First, I need to locate the AV cable and connect it to the appropriate ports on both the Dreamcast and the TV. Next, I'll plug in the power cable and make sure my TV is set to the correct input channel. Once everything is connected, I can turn on the Dreamcast and enjoy some nostalgic gaming. It's amazing how simple this process is, even with older technology!

 Cricket